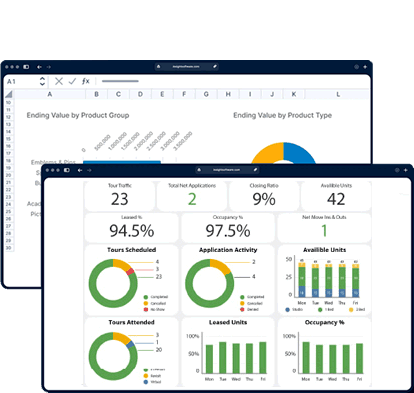
Custom Real Estate Dashboards
Built for Your Portfolio
From ideation to launch in 28 days. Automated data refresh from Yardi, AppFolio, Entrata, Rent Manager, and more.
Built in & connected to your tools

Our Methodology
The 5-Step Process to Build Your Custom Real Estate Dashboard
A structured, transparent process that keeps you in control at every step — from understanding your goals to training your team and beyond.

Step 1
Ideation

Goal: Understand your goals and provide rough cost estimates for achieving those goals.
- Audience for the dashboard
- Questions the dashboard should answer
- Metrics and sources of data
- Time frame for launch
- Preference for Own vs Rent
- Preference for Power BI or Tableau
- Cost estimates for construction and operation
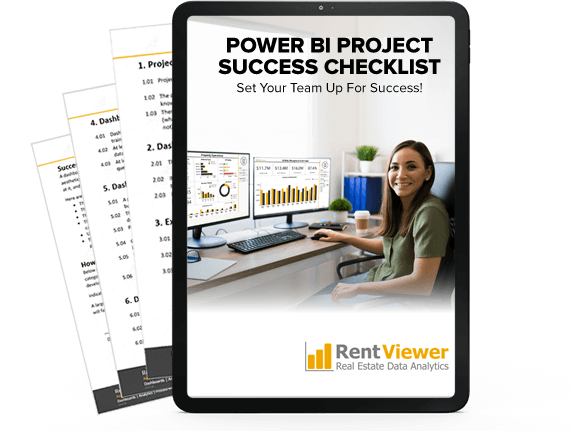
Free Resource
Download the Power BI Dashboard Checklist
Know exactly what to ask for — and what to avoid — before you commit to a build.
Download Free ChecklistStep 2
Blueprint

Goal: Create specifications for your custom dashboard and provide you an accurate quote.
- Metric Definitions and Calculations
- Visual Design
- Technical Design
- Data Source Design
- Price Quote (Blueprint is a paid engagement)
Select the data source
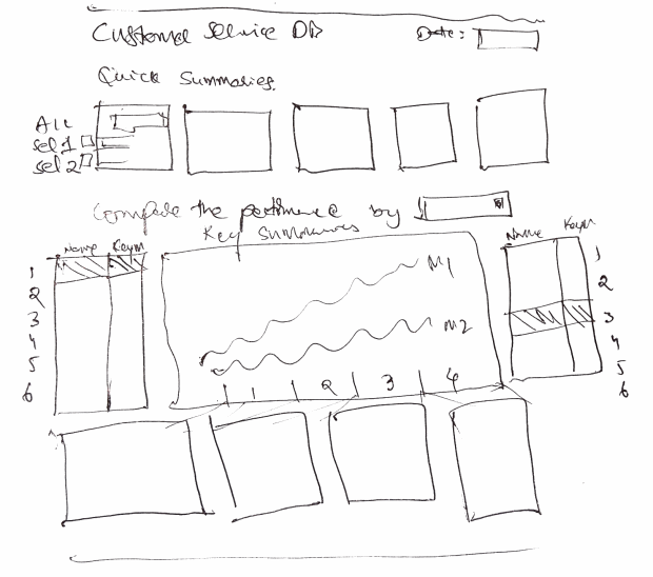
Sketch the dashboard
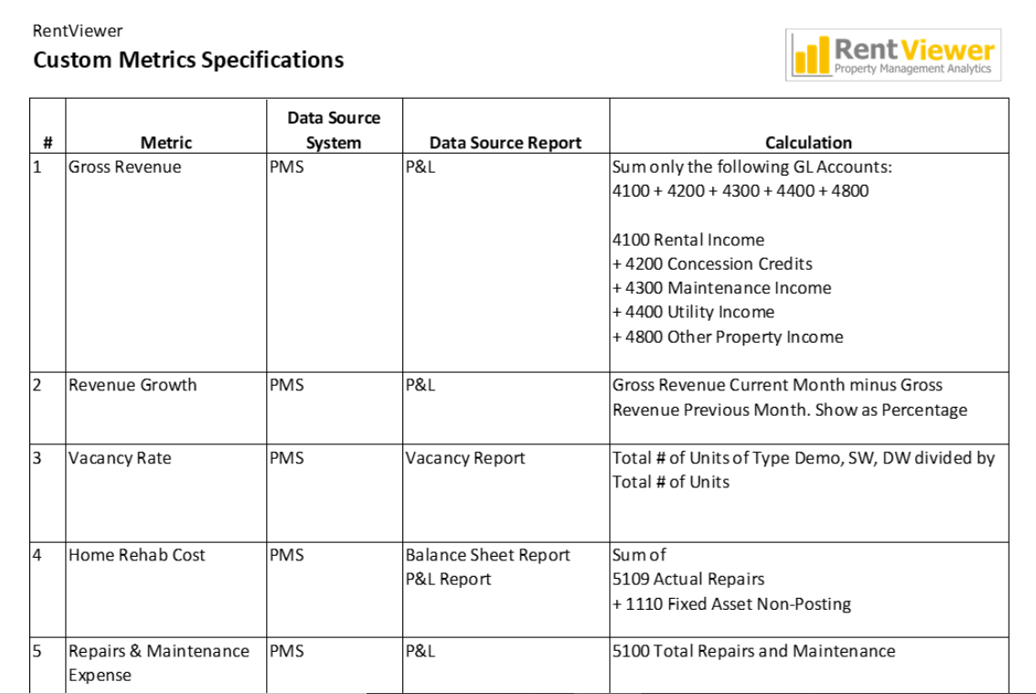
Specify the metrics
Step 3
Build

Goal: Build a functioning, interactive dashboard that can be automatically refreshed with latest data.
- Write formulas for metrics and calculations
- Create visual elements: charts, filters, and interactivity
- Design the data source
- Build the automated data refresh process
- Load initial dataset and tune refresh speed
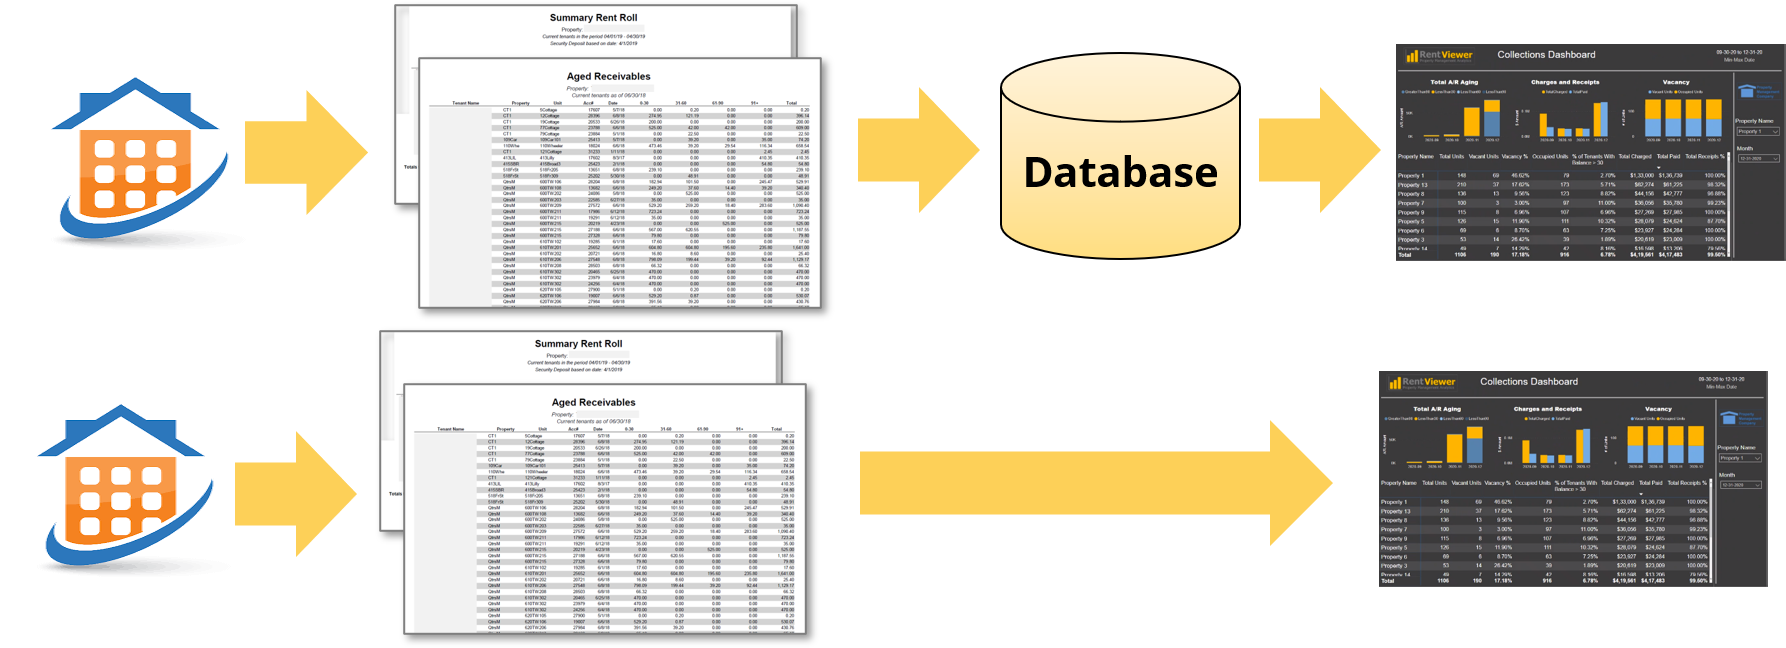
Decide how to get data into the dashboard
Step 4
Validate

Goal: Confirm the dashboard displays metrics accurately and refreshes on schedule.
- Decide pass/fail criteria
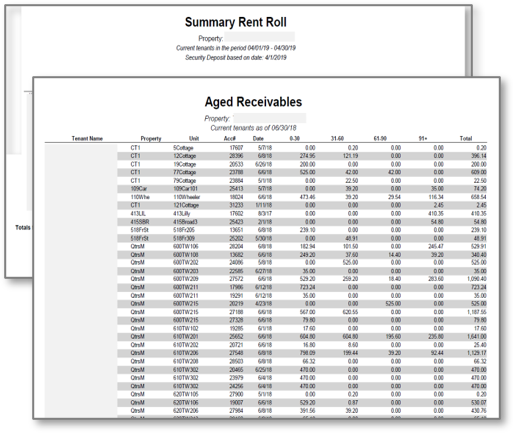
- Compare data in dashboard to data in reports
- Log data validation results
- Compile evidence of testing
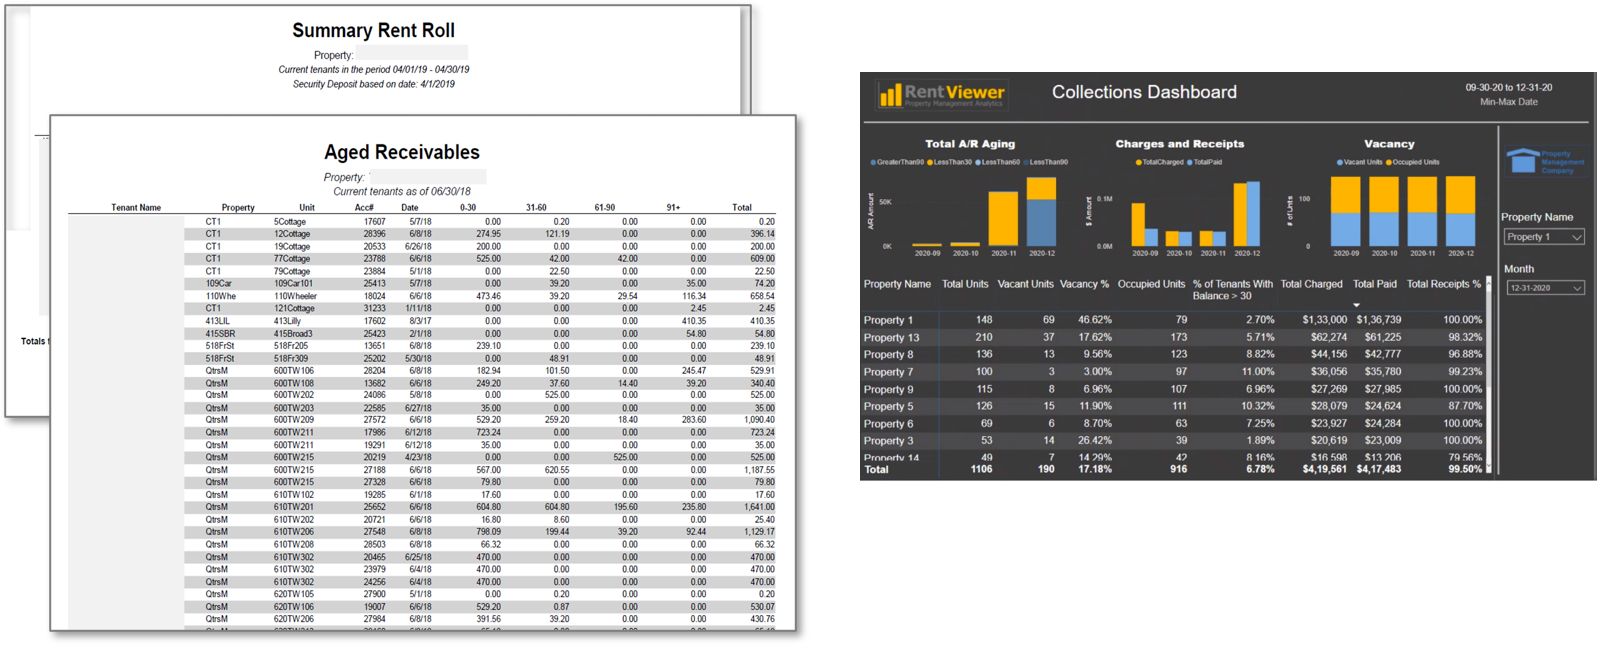
Compare numbers in the report to numbers in the dashboard
Step 5
Launch

Goal: Get you and your team using your newly built custom dashboard.
- Install software in production environment
- Train the users
- Setup Help Desk
- Get User Licenses
- Setup Security
- Begin Warranty Period
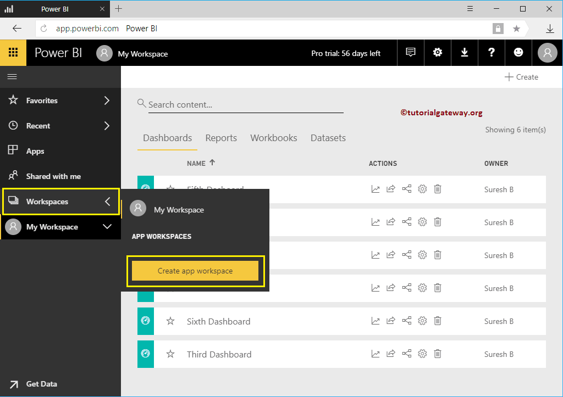
Set up user licenses and permissions
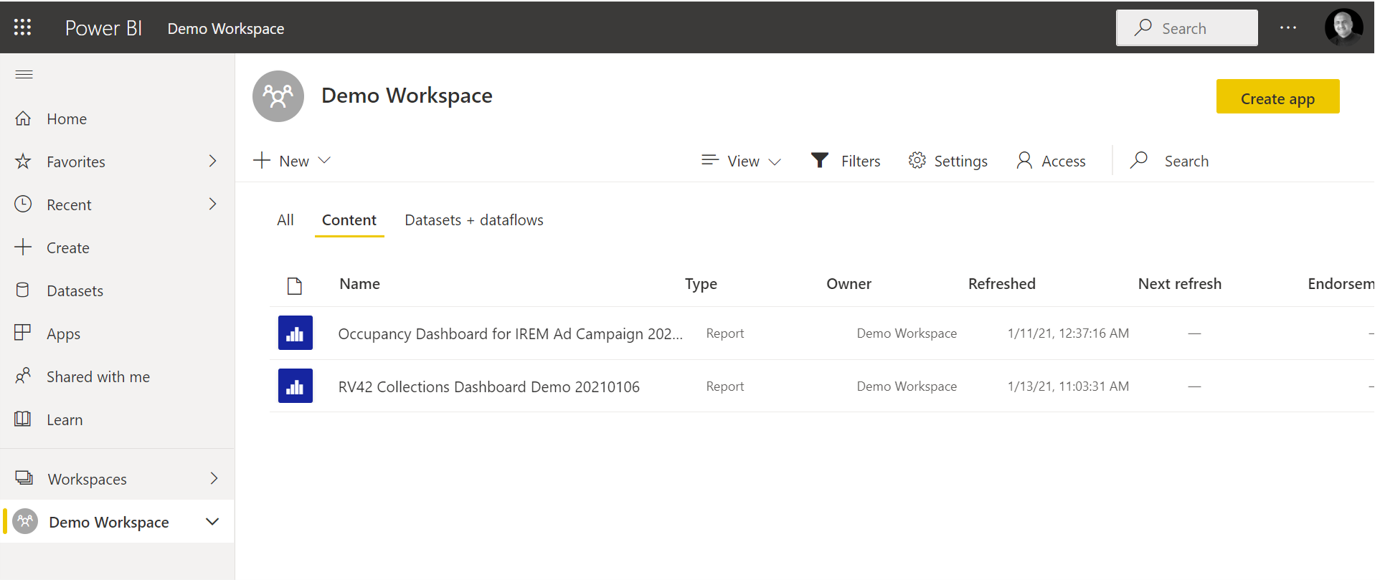
Power BI workspace configuration
Ready to Start Building Your Dashboard?
Book a free 30-minute Ideation Meeting. We'll walk through your goals, data sources, and give you a cost estimate — no obligation.
Let's Build Your Dashboard. You'll Be Live in 28 Days.
No long-term contracts. We tell you upfront if we're a fit. Book a free Ideation Meeting and get a cost estimate with no obligation.
Free 30-min call · No sales pressure · Honest fit assessment